How to tape a stick.
Pick your position. Each tutorial takes you through the blade and the handle step by step, on a 3D stick you can turn all the way round.
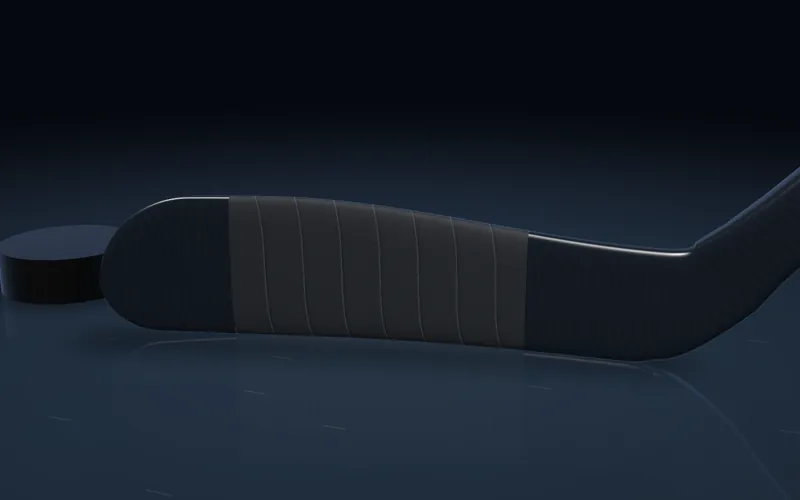 Forward 9 steps · about 6 minutes · black blade, white simple knob
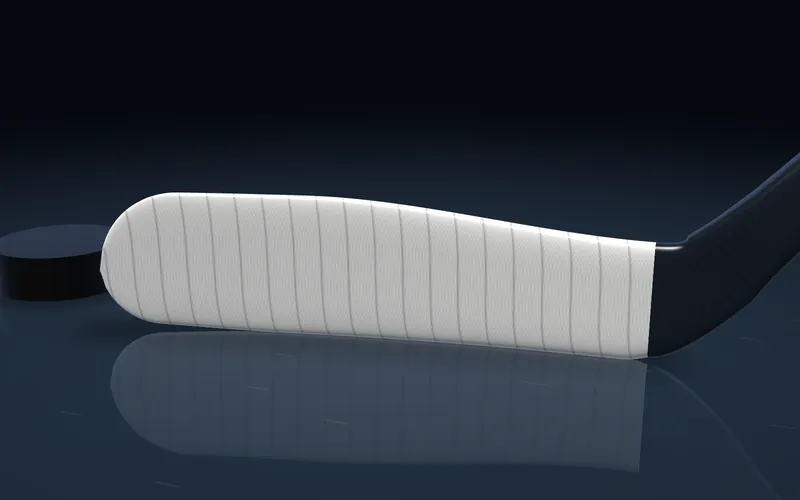 Defence 9 steps · about 10 minutes · white blade, white ladder knob
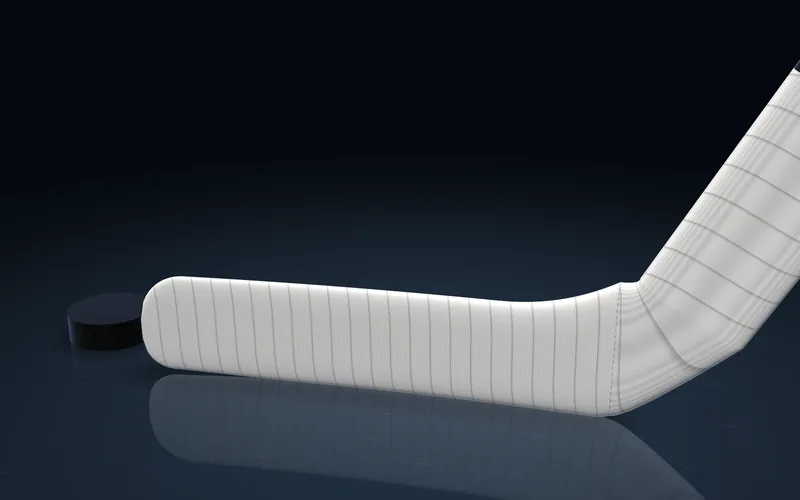 Goalie 9 steps · about 15 minutes · white blade, big goalie knob
The basics, for any position
Start clean
Old tape, adhesive and moisture all stop new tape from gripping. Strip the blade and dry it first.
Heel to toe is the default
Anchor at the heel and spiral toward the toe. Toe to heel works too; the overlap edges just face the other way.
Overlap sets the feel
Less overlap is thinner and gives more puck feel. More overlap cushions hard passes and lasts longer.
Keep tension
Steady pull on the roll lays the tape flat. Bubbles and creases catch ice and peel early.
Trim and press
Cut the extra off the bottom edge and toe, then press every edge down.
Wax for wet ice
Rubbing wax into cloth tape keeps water out, so the blade stays light and the tape lasts longer.
Make it yours.
Every common blade and knob style, or design your own tape job in 3D.