How to tape a stick / Forward
How to tape a forward's stick.
Forwards handle the puck more than anyone, so this tape job is built for feel: one thin layer on the blade with a modest overlap, and a small knob that stops the stick leaving your glove without getting in the way of quick hands.
- Time
- About 6 minutes
- You need
- One roll of 2.5 cm (1 in) black cloth hockey tape for the blade, One roll of white cloth tape for the knob (or use black), Stick wax (optional)
- Tools
- Scissors or a utility knife, A clean, dry cloth
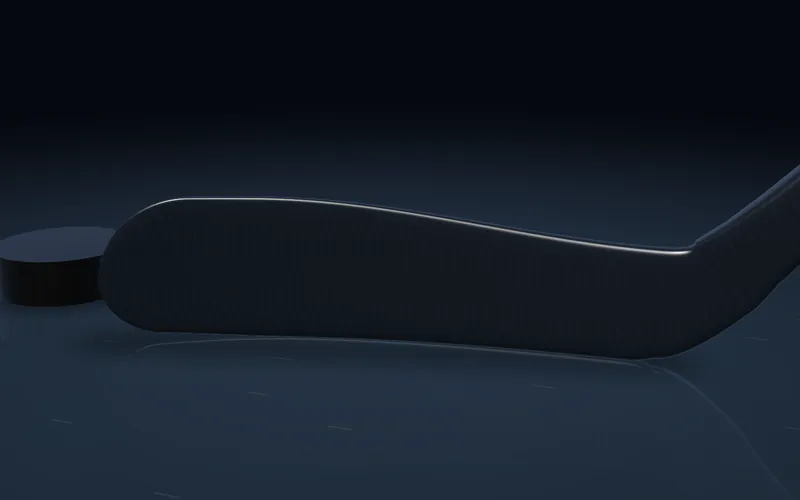
Blade · Step 1 of 9
Drag the stick to turn it 360°.
-
Blade
Strip and clean the blade
Peel off every bit of old tape. Wipe away leftover adhesive and moisture so the new tape grips the carbon, not the gunk.
Tip: Warm, old tape comes off in one piece. Do it right after a skate if you can.
-
Blade
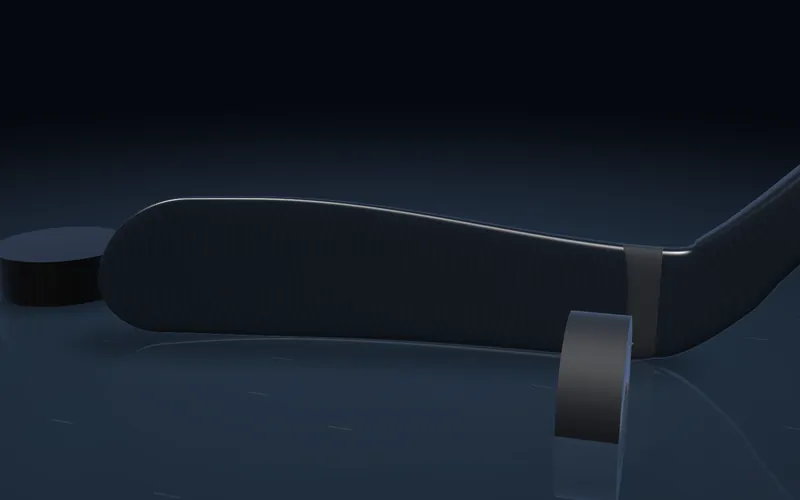
Anchor at the heel
Start at the heel, where the blade meets the shaft. Lay the first pass straight around the blade so the loose end is locked under the next wrap.
-
Blade
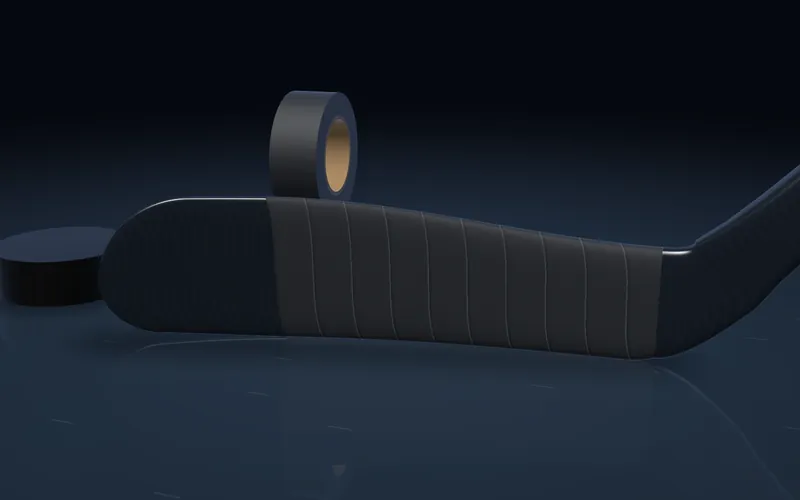
Spiral toward the toe
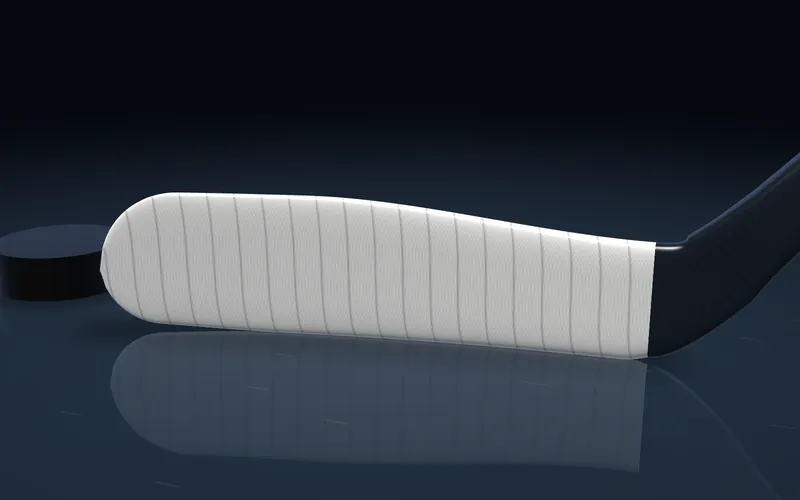
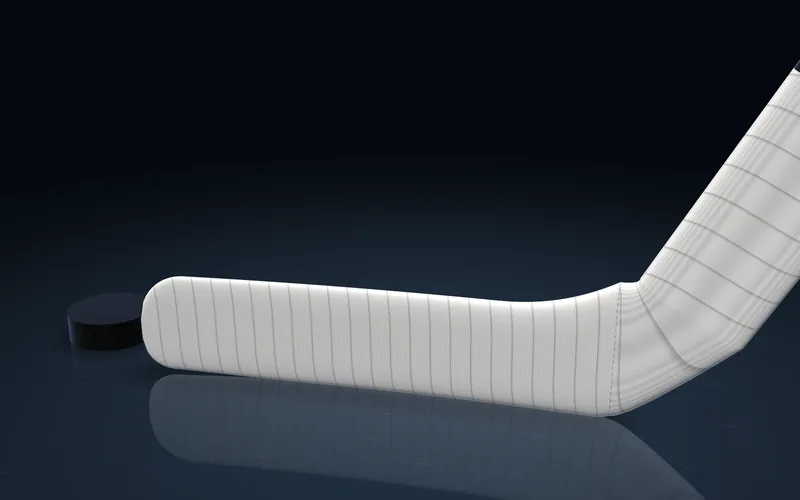
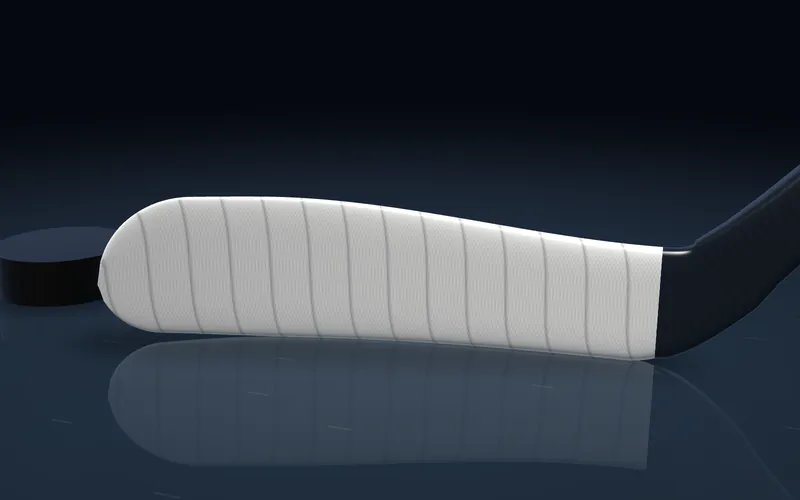
Angle the roll slightly and wrap toward the toe, overlapping each pass by about a quarter of the tape width. Keep steady tension so the tape lies flat with no bubbles or creases.
Tip: Less overlap means less tape between you and the puck. A quarter overlap is a good starting point for feel.
-
Blade
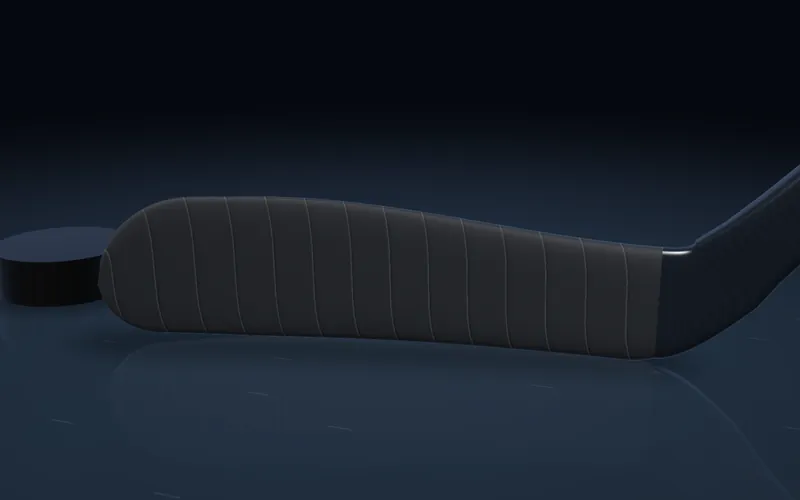
Run off the toe
Keep wrapping until the tape runs past the end of the toe, then tear it off. Every part of the blade face should now be covered.
-
Blade
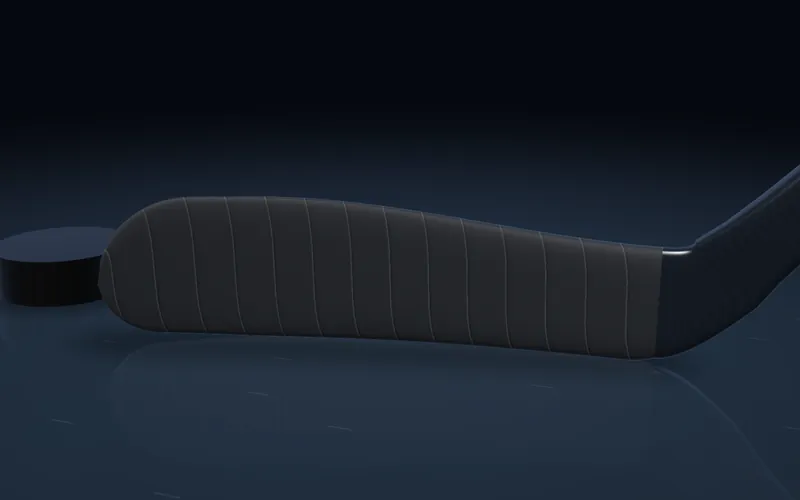
Trim and press
Cut away the extra along the bottom edge and round the toe so nothing hangs off. Press every edge down firmly with your thumb.
Tip: Trimmed edges catch less ice and peel less often.
-
Blade
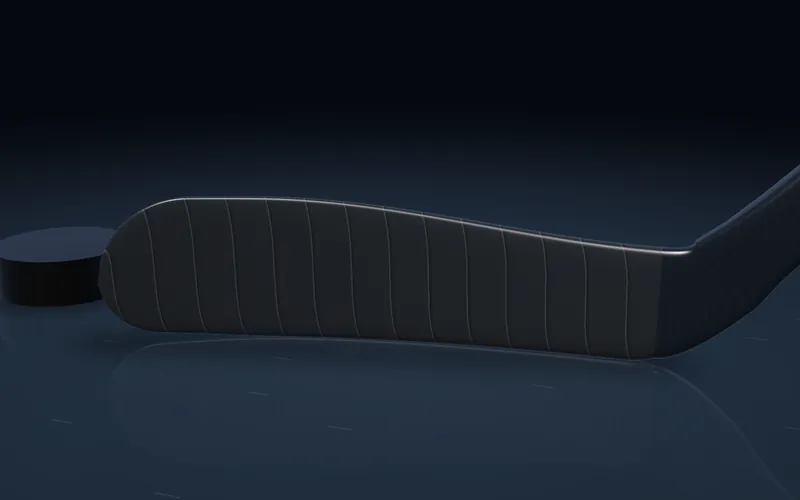
Wax it
Rub stick wax across both faces and the bottom edge until the tape turns matte. Wax keeps snow and water out of the cloth so the blade stays light and tacky.
-
Handle
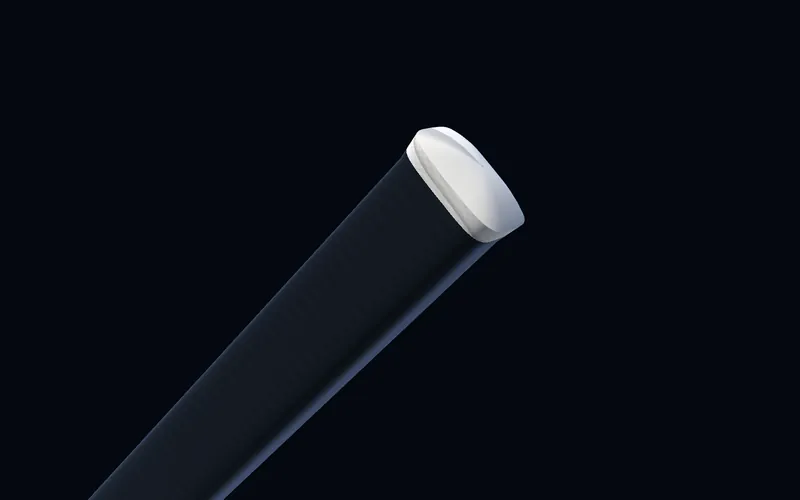
Start at the butt end
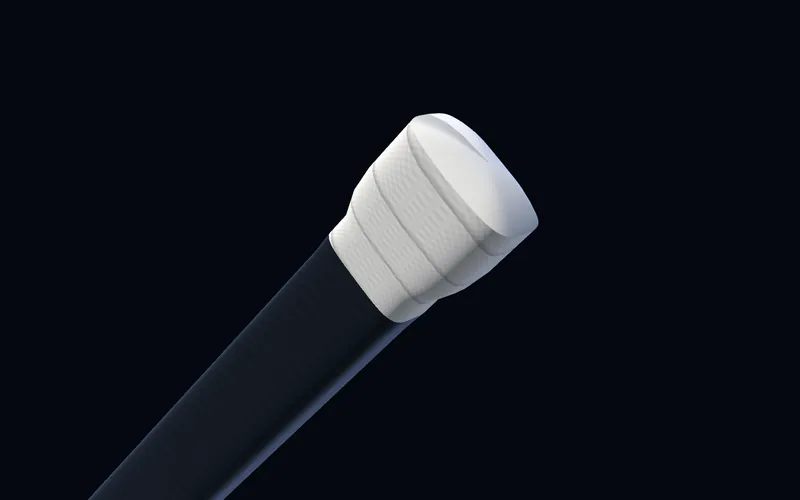
Turn to the top of the stick. Start the knob tape right at the end of the shaft, with the first wrap hanging slightly over the edge. Black blade with a white knob is a classic combination, but any colour works.
-
Handle
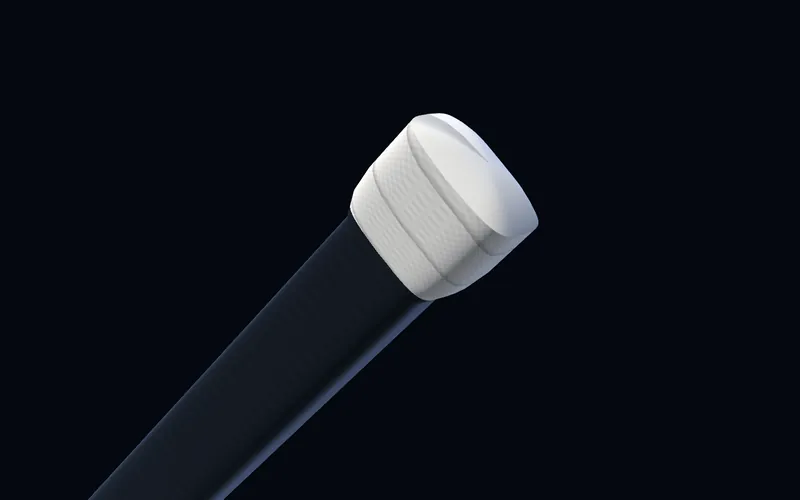
Build a small knob
Wrap tightly over the same spot, letting the tape stack into a lip. Six to ten wraps is a common size for a forward.
Tip: Keep it small. A big knob slows down a top hand that slides during dekes.
-
Handle
Fold over and finish
Fold the overhang down over the end so it is sealed, finish the last wrap on the underside, and squeeze the knob firm. Check it with your gloves on.