How to tape a stick / Defence
How to tape a defenceman's stick.
Defenders take the hardest passes, block shots and reach for poke checks with one hand. This tape job is built to last: a full blade with heavy overlap, waxed, and a ridged ladder knob that gives your top hand something to lock onto at full reach.
- Time
- About 10 minutes
- You need
- One roll of 2.5 cm (1 in) white cloth hockey tape, Stick wax
- Tools
- Scissors or a utility knife, A clean, dry cloth
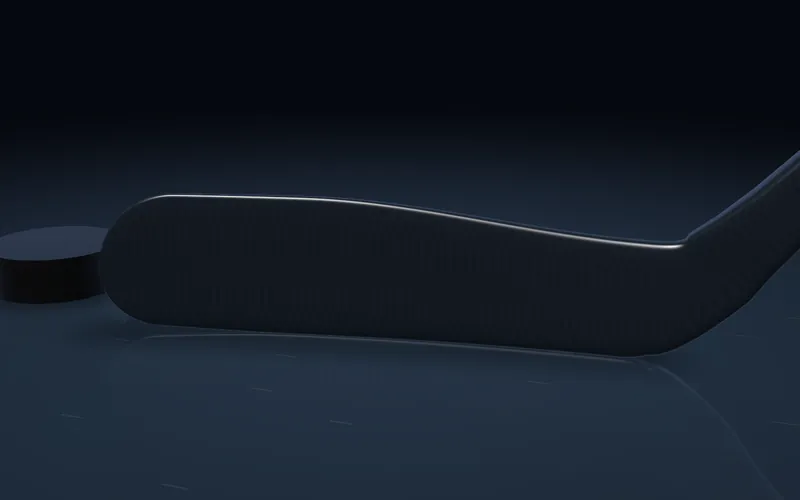
Blade · Step 1 of 9
Drag the stick to turn it 360°.
-
Blade
Strip and clean the blade
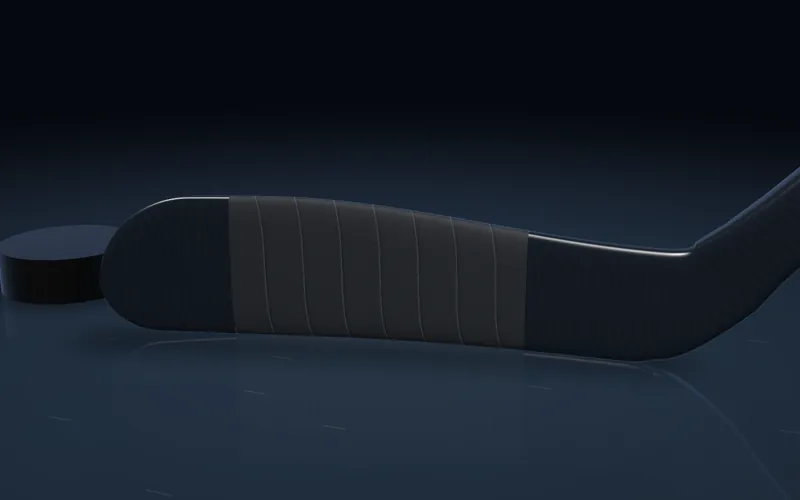
Remove all the old tape and adhesive, and dry the blade. A defender's tape takes a beating, so start on a clean surface for the strongest hold.
-
Blade
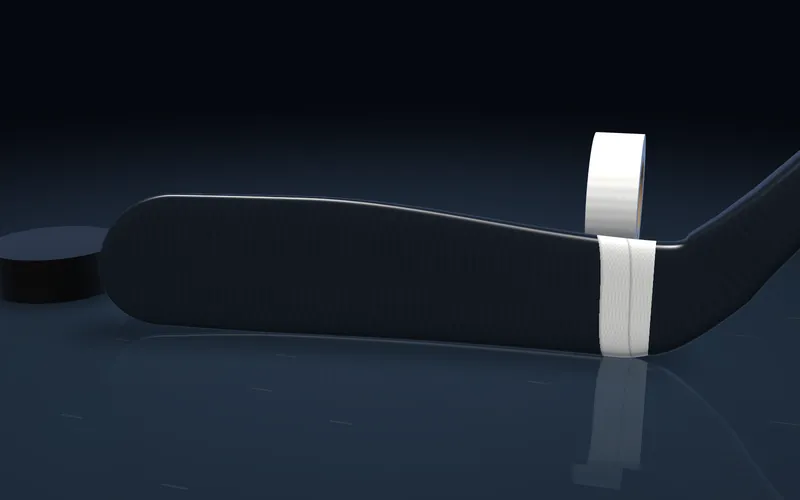
Anchor at the heel
Start at the heel and lay the first pass straight around the blade to lock the end down. The heel takes the hardest passes, so make this wrap tight.
-
Blade
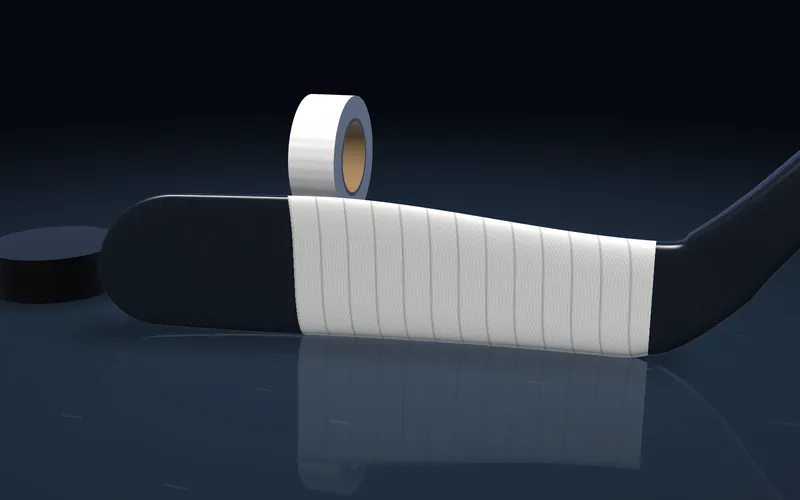
Wrap with heavy overlap
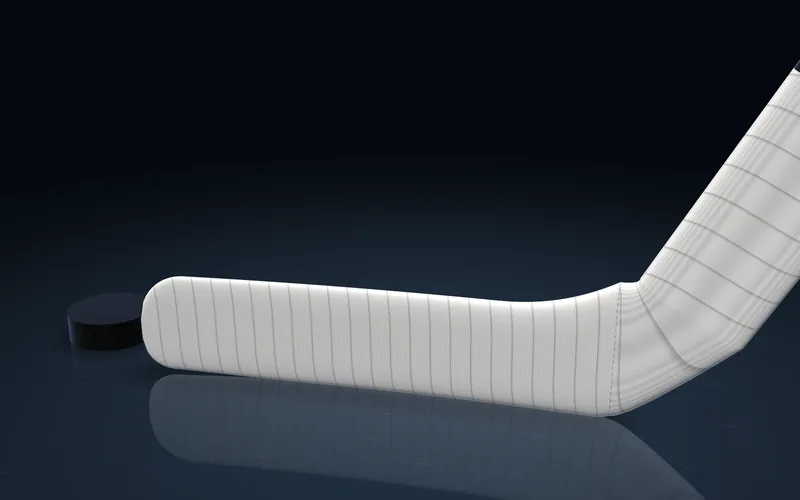
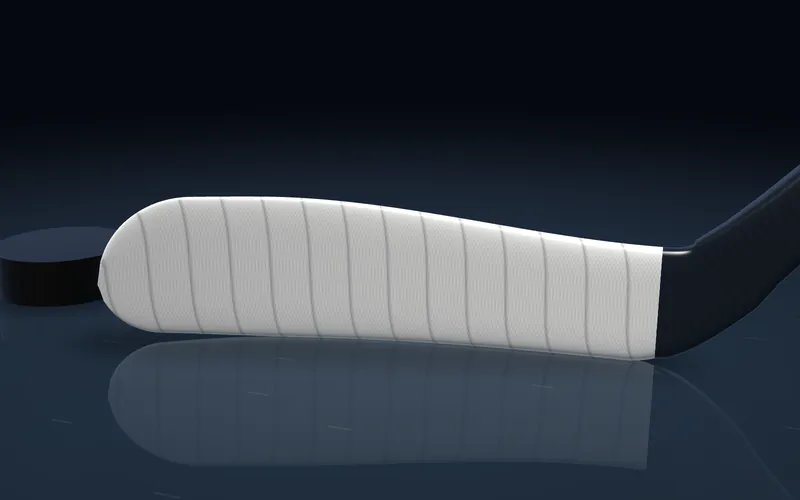
Spiral toward the toe, overlapping each pass by nearly half the tape width. The double thickness cushions hard passes and holds up to blocked shots.
Tip: Heavier overlap uses more tape but lasts longer between tape jobs.
-
Blade
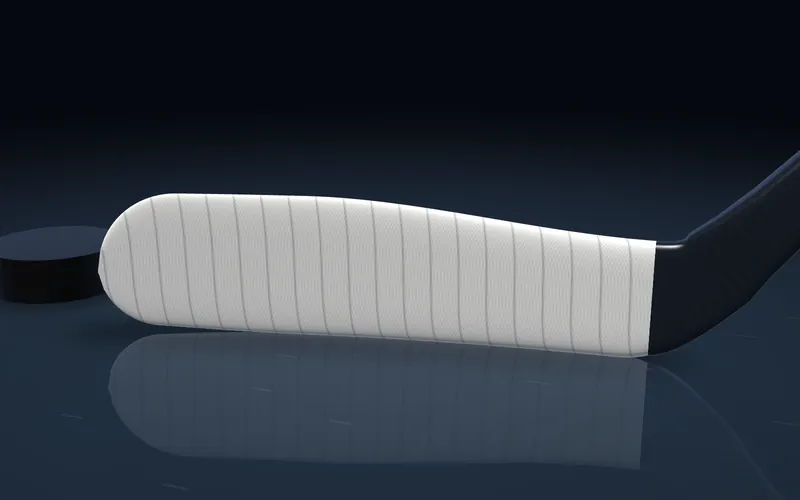
Run off the toe and trim
Wrap past the toe, tear the tape, then trim the bottom edge and toe clean. Press every edge down so nothing lifts when you dig pucks off the boards.
-
Blade
Wax it well
Rub wax hard into both faces and the bottom edge until the tape is matte all over. With this much cloth on the blade, wax is what keeps it from soaking up water and getting heavy.
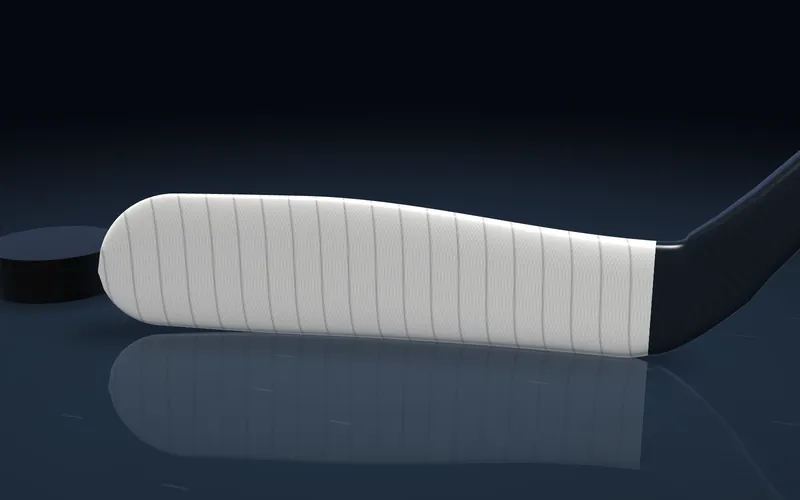
-
Handle
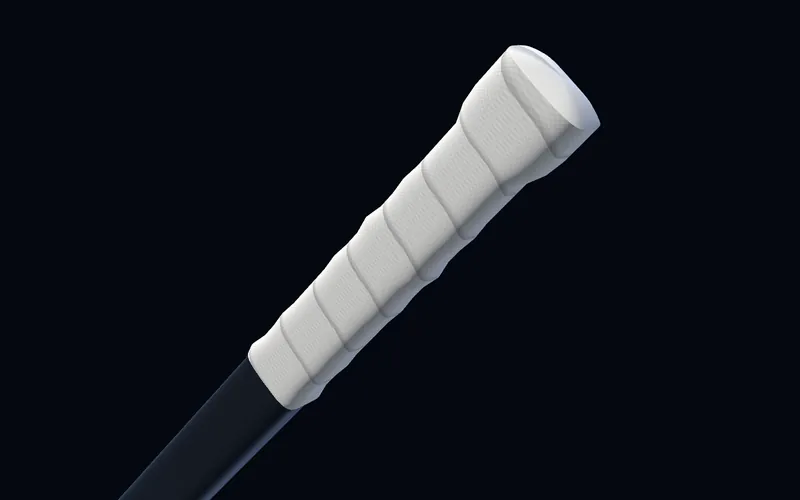
Make the ladder ropes
Tear off three or four strips of tape about 20 cm long and twist each one tightly into a rope.
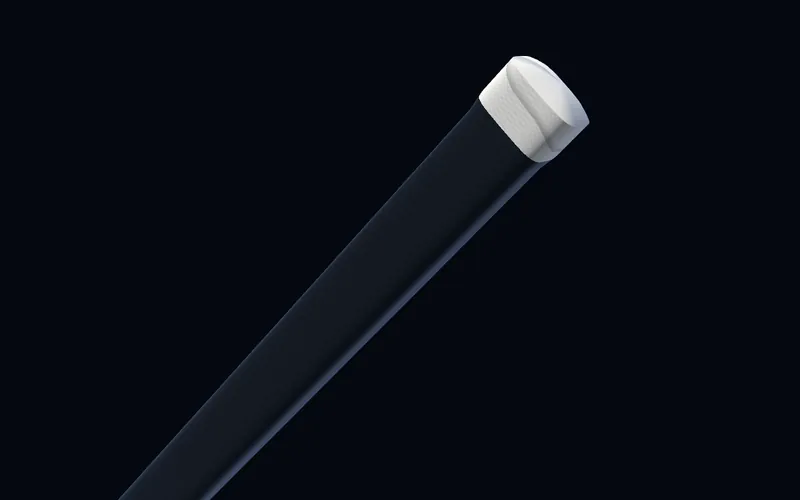
-
Handle
Lay the rungs
Wrap each rope once around the shaft below the end, spaced about a finger-width apart, where your top hand sits.
Tip: The ridges lock your fingers in place when you reach one-handed for a poke check.
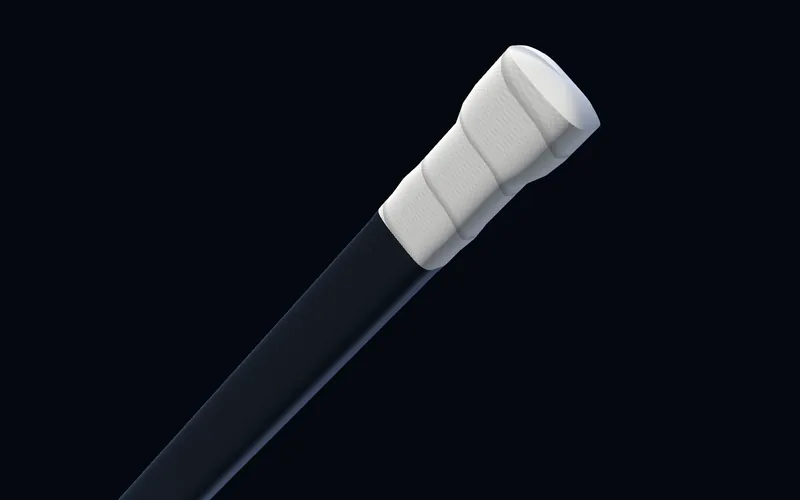
-
Handle
Wrap over the ladder
Starting below the lowest rope, wrap up over the ropes with a slight overlap so the ridges show through the tape.
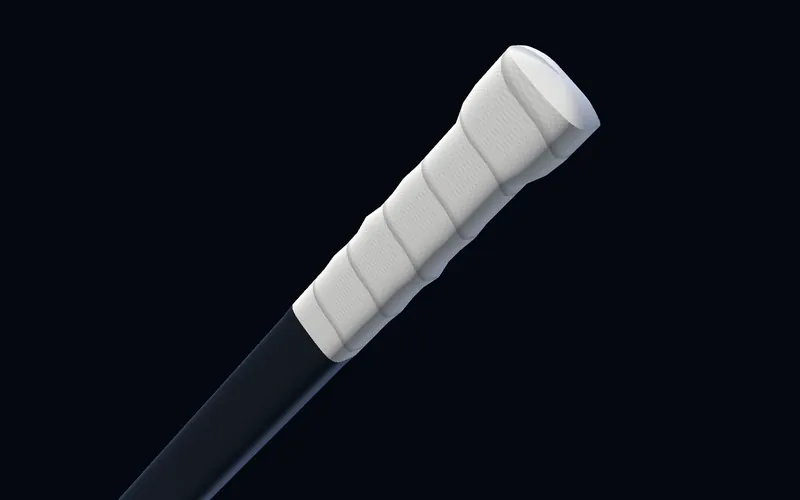
-
Handle
Build the lip and seal
Stack wraps at the very end into a firm lip, fold the overhang over the butt end and finish on the underside.